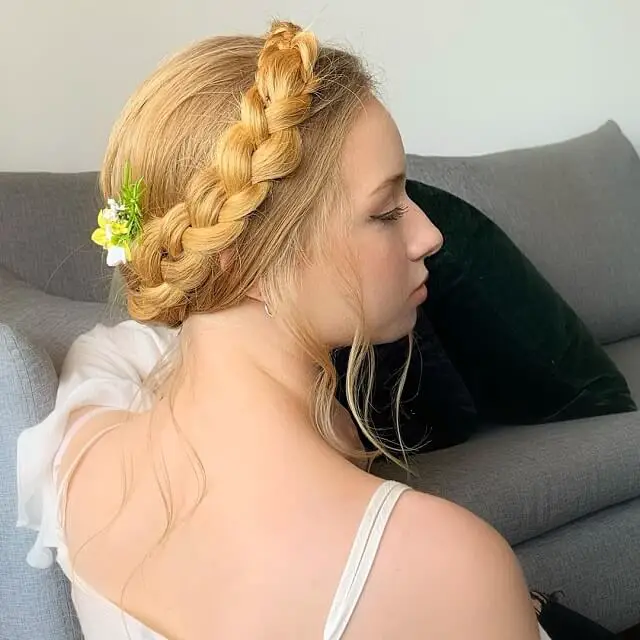
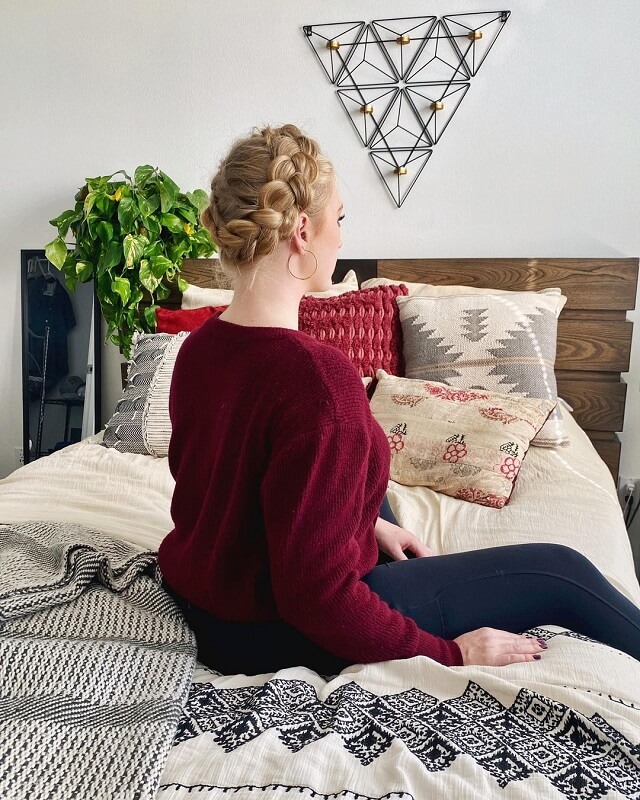
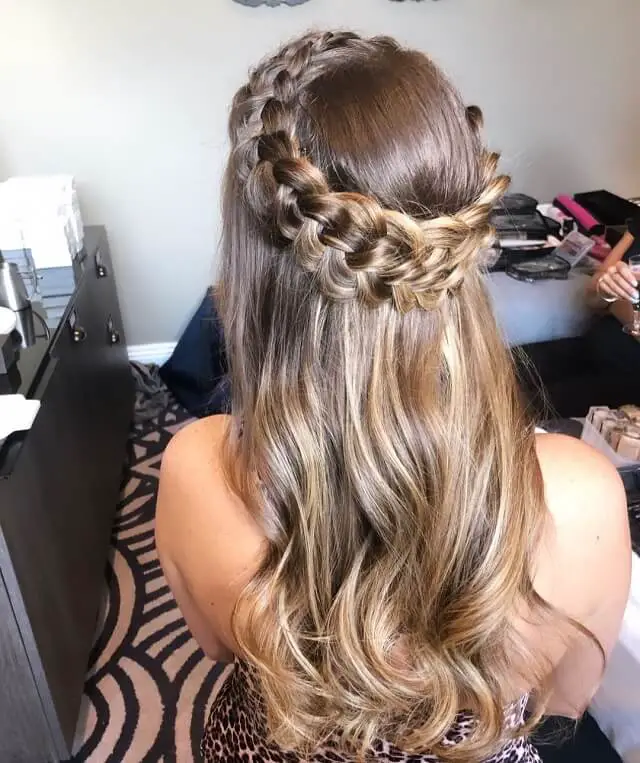
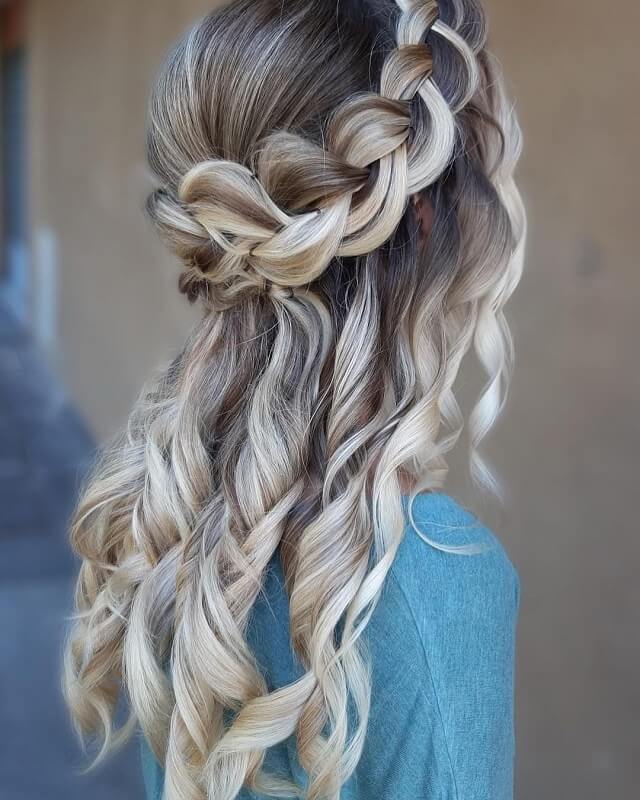
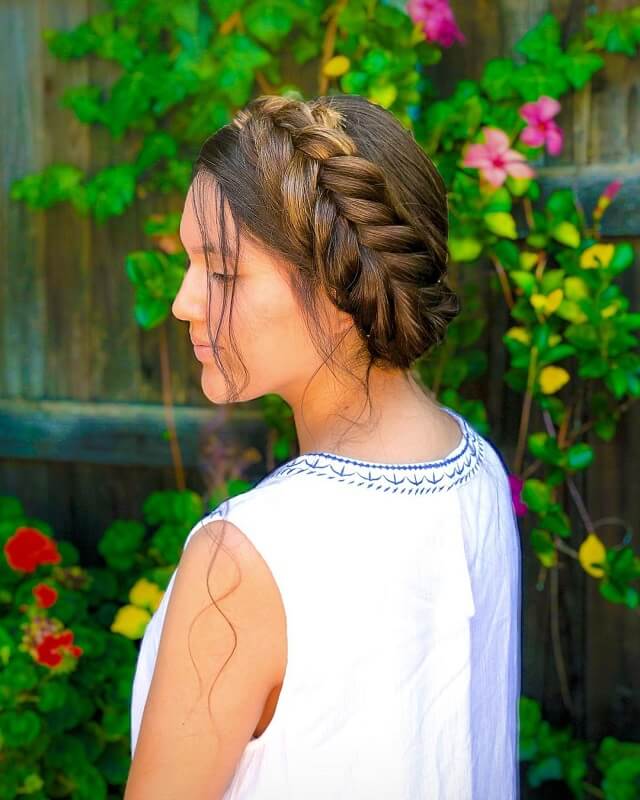
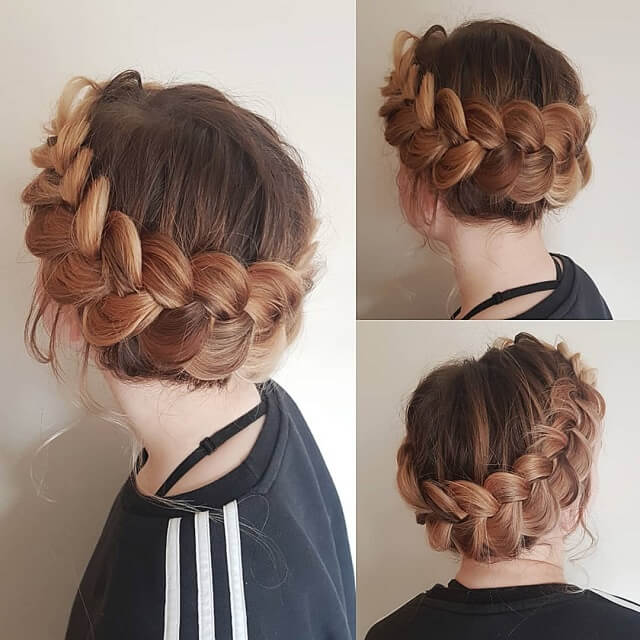
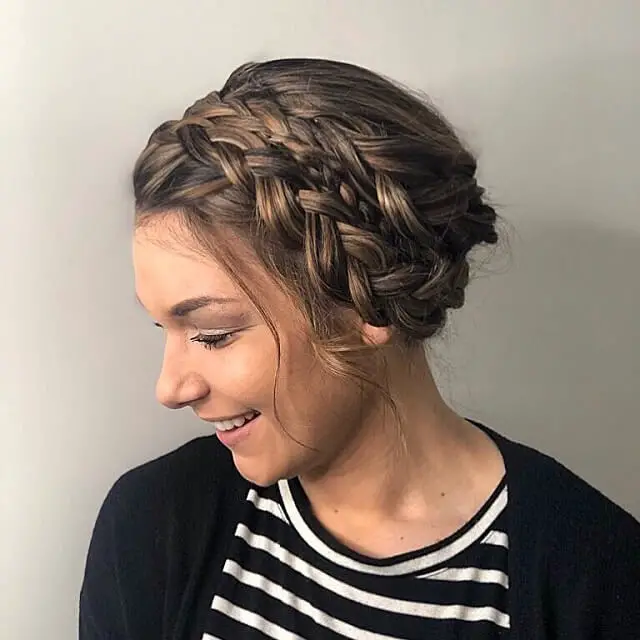
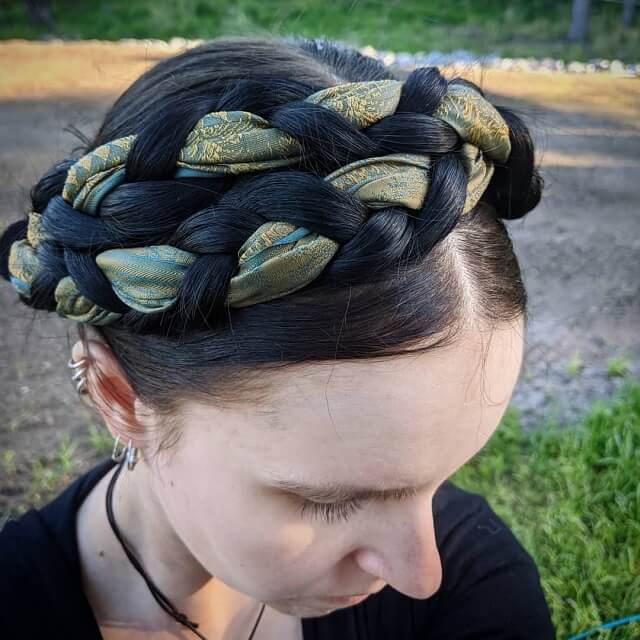
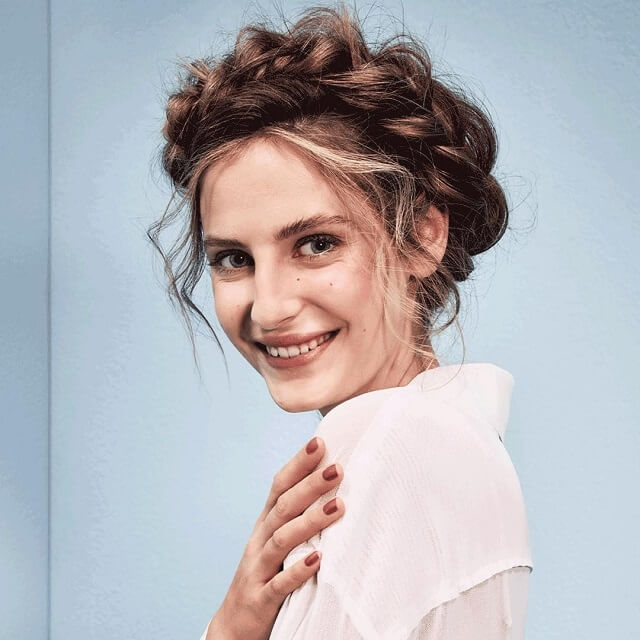
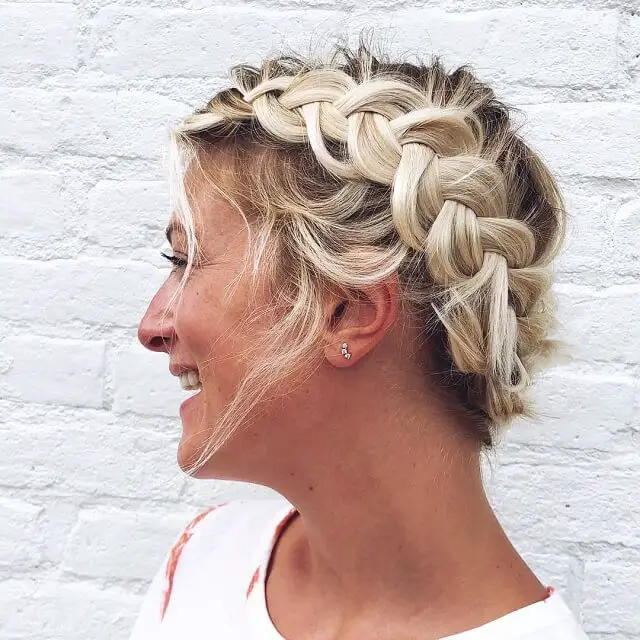
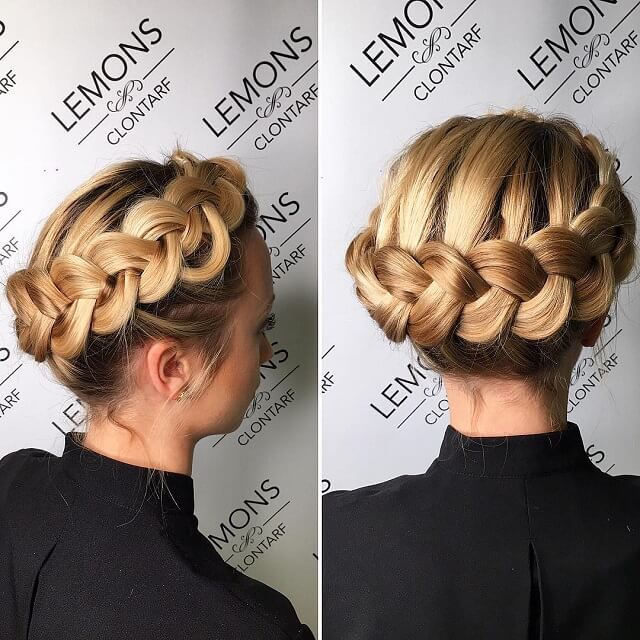
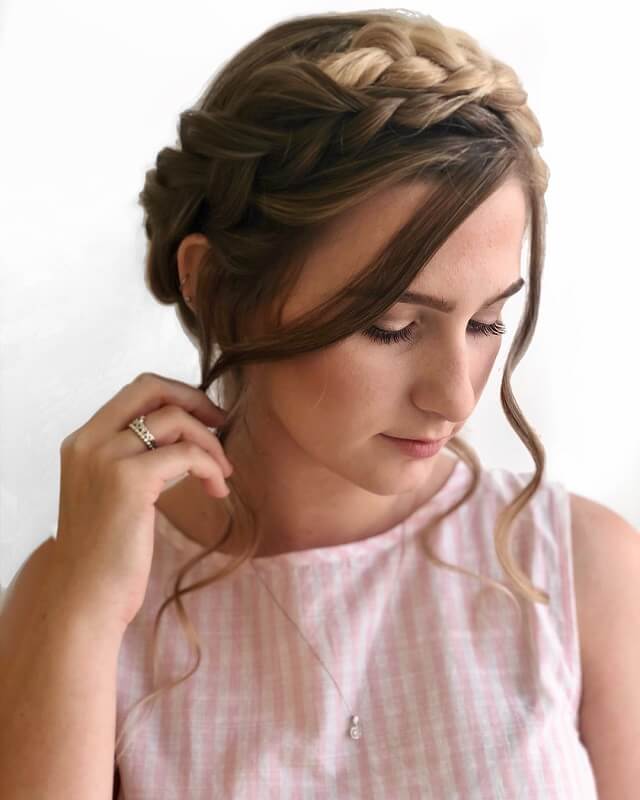
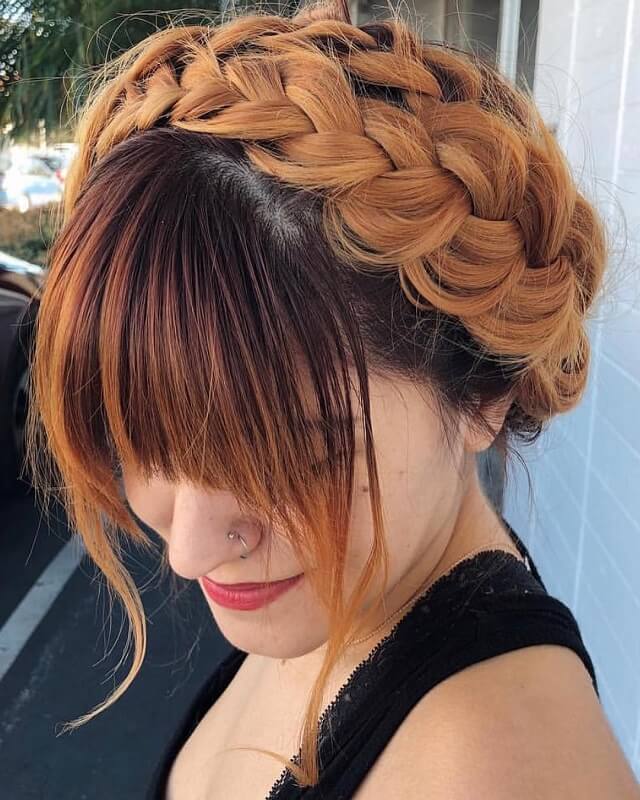
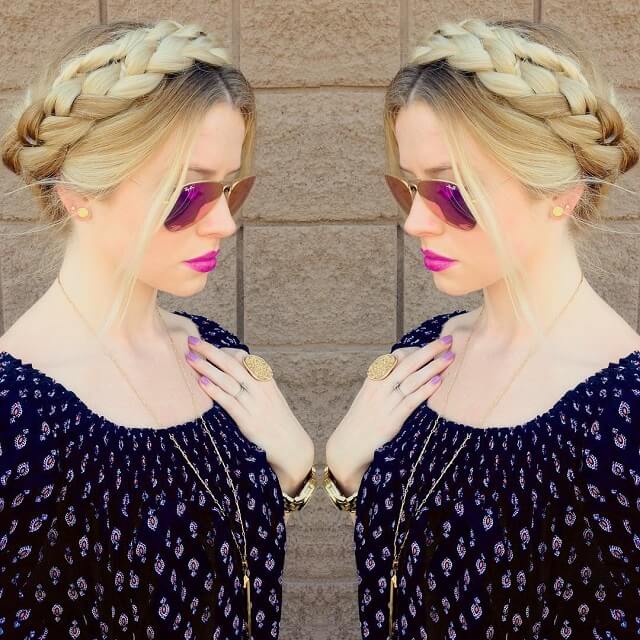
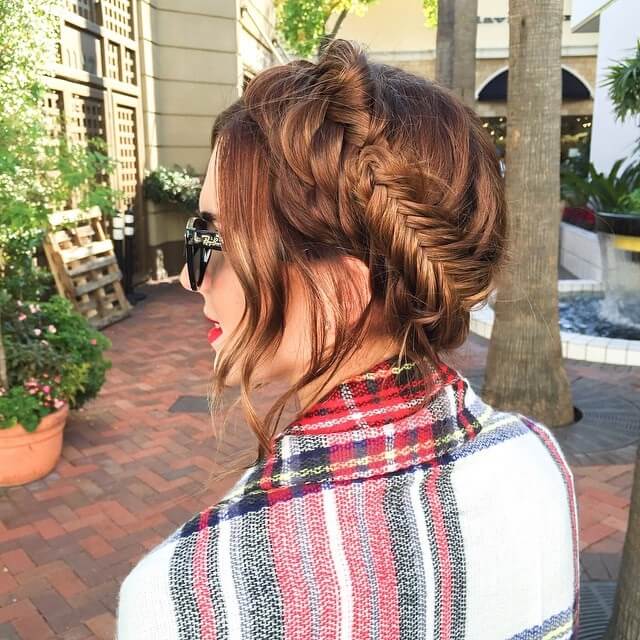
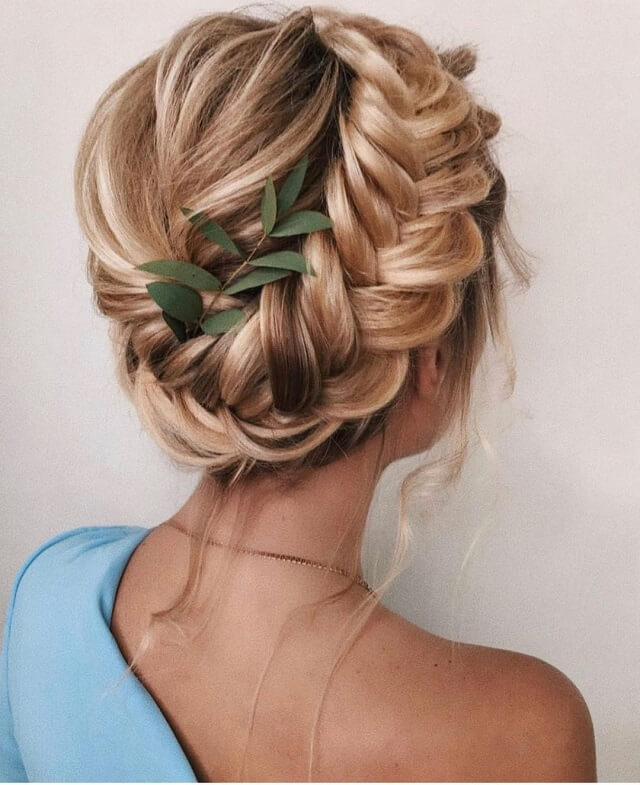
When you want to look exceptional, giving a unique look to your hair could be enough. Different hairstyles can dramatically change the entire outlook. Milkmaid braid is one of the most fashionable hairstyles that can do the job.
You might be wondering how you can get the milkmaid braid hairstyle and how to do it! Well, in this post, we are going to share some cool ideas for this particular hairstyle. Also, we have shared a step-by-step guide to getting the hairstyle without any struggle.
What is a Milkmaid Braid?
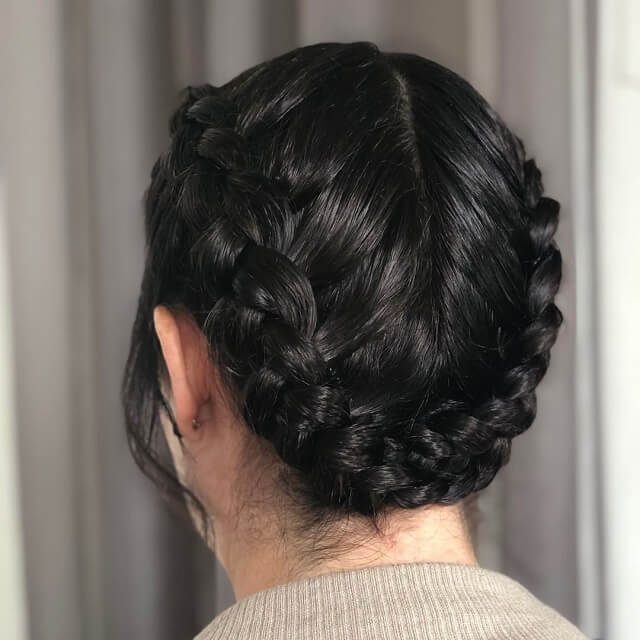
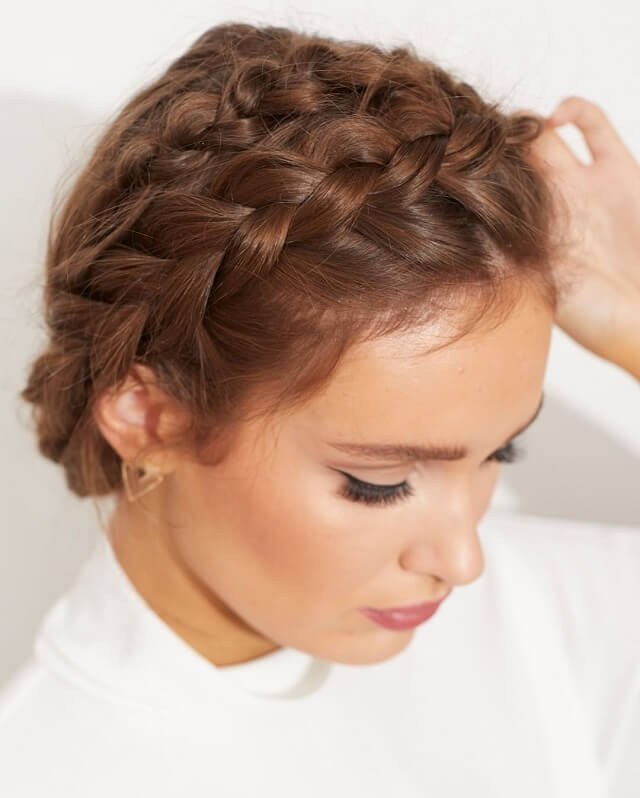
As the name suggests, the style includes braids. But the way of styling the hair is a bit different. To get the style, one needs to make at least two braids and then wrap them around the scalp from the top. After wrapping around the scalp, the braids are used to tie up with a hairband. However, there are different variations in the style. You can experiment with them. The style goes with both long and short hair.
How to Have Milkmaid Braid at Home?
If you have prior experience of doing hairstyles at home, you can do a milkman braid too. Just grab a hairbrush, a few rubber bands, and a setting spray. Now follow the following steps –
Step 1: Prepare the Hair
Before you start dressing the hair, you need to prepare it. For this, pass a hairbrush on your hair a few times. This will give a straight look to the frizzy hair.
Step 2: Side Part the Hair
Now start separating the hair from the center. Take an equal amount of hair from each side and side part them. While making two sections from the center, you can keep some hair on both sides in the face shape. However, this is optional.
Step 3: Secure Your Hair for Braid
In this step, use some hair bands to secure the root of the hair. Otherwise, it will be difficult to do the braids in loose hair. So, keep it tight and go for the next step.
Step 4: Make the Classic Three Strand Braid
Start making the braids from any of the sides. For the milkmaid braid, a three-strand braid is recommended. It looks better. So, prepare the braid on one side and then go for the next one.
Step 5: Secure the Braid
Once the braids are ready, you can now wrap them around your scalp. Do it slowly and check in the mirror if the process is going right. Wrap the braids around the neck and stop on the top of the head. Now, secure both of the braids with headbands. Keep it tight.
Step 6: Use Hairspray
Finally, use a good hairspray all over the scalp. Pick something soft that doesn’t impact the hair’s natural look. We recommend using good-quality hair sprays to prevent hair damages.
Top 28 Milkmaid Braids for Women
Here we have shared the most popular milkmaid braid hairstyles that can instantly make you attractive. We have gone through different variations before making the list. So, you can assume them as the best.
1. Milkmaid Braid For Short Hair
Yes, you can do a milkmaid braid in short hair. However, you need a good hair volume. So, like the regular style, side part your hair from the top. Now take enough hair so that you can make it right. Make the fast braid and leave it for the other side. Now secured the greats on The top of the scalp.
Do you have cake and a high volume of hair? Also, do you have blonde hair? Then you are good to go with this braid hairstyle. Make the braids as thick as possible and then secure them on the backside with a hairband.
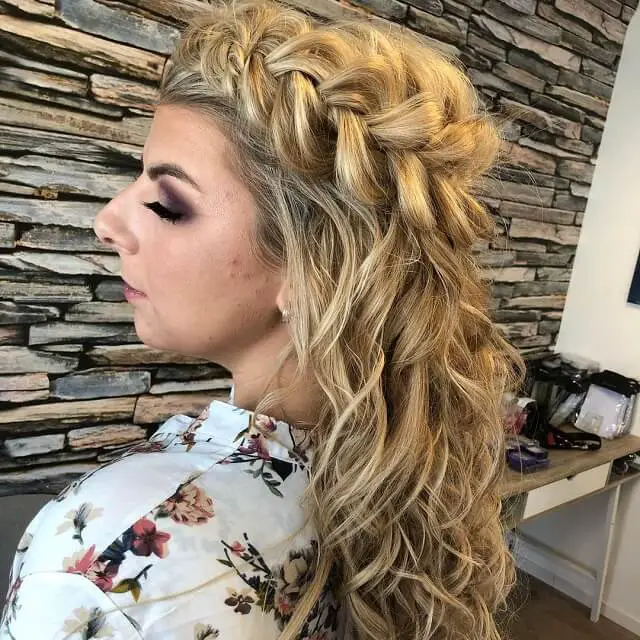
2. Half Up Milkmaid Braid
This one is a bit different compared to others. Here, you will raise your hair with braids and keep the rest of the hair open. So, Start with any of the sides of the hair. Now, wrap them around the scalp and tie them with a hairband.
This hairstyle looks like the Frozen movie character. If you have watched The movie, you must have an idea of the style. Keep some hair in the face shape and then start making the braids. Make a thick braid with two strands and then wrap them around.
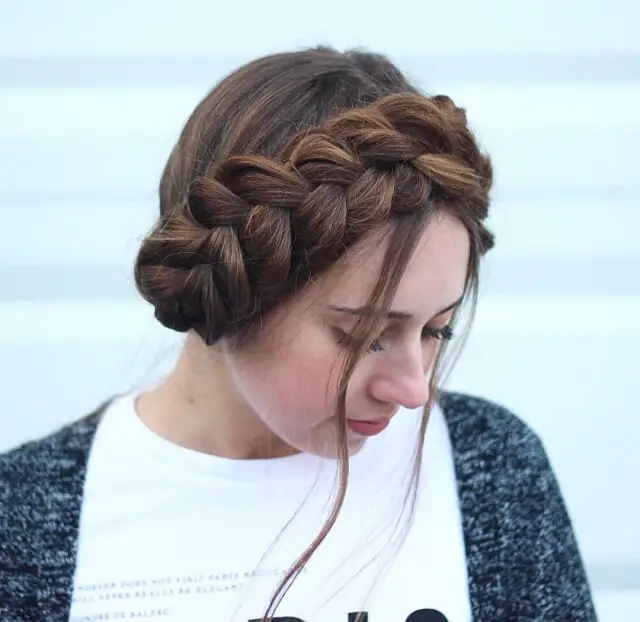
3. Dutch Milkmaid Braid
Dutch milkmaid braid looks amazing on both black and blonde hair. Regardless of the face shape, you can go for this style. Typically, it requires two thick braids. You don’t have to keep some hair open while doing the style. Now, make the braids and then wrap them around the scalp.
For the next style, you need thick Dutch braids that can cover the whole scalp area. Keep the braids short but thick. Now, wrap them around and secure them. Keep the front hair a bit fancy by giving a wavy look.
4. Knotted Braid
Want to give a thicker look to your hair despite being less volume? Then you can go for the knotted milkmaid braid. Unlike just making the braids, here you need the classic knots that go around the top. Though it may take much time, it is worth it.
Can’t do the knotted braid because of less hair volume? Then you are good to go for this. It is a different kind of hairstyle where you need to use a fabric with hair. The fabric here works as a filler so that thin hair can also get the knotted style.
5. Messy Braid
As the name suggests, a messy milkmaid braid will look a bit disoriented. If you don’t have much time and still want to get your hair done, go for it. Let the hair remain in its messy look, but get the braids on top and tie them.
Blonde hair with thin hair should get this style. Make the braids on top while the rest of the hair is messy. The hairstyle is best suited for women over 40. It can help to look younger.
6. Milkmaid Braid For Medium Hair
When your hair length is in the medium range, you can try this style. Unlike a regular one, here you won’t keep any hair open. After separating the hair from the center, make two braids in the classic two-strands style.
If you are willing to keep a bit of hair open in the front area, pick this one. However, to keep some hair open, you need enough hair volume. So, before getting it, consider the hair thickness and density. No need to side part hair for it. Simply make the braids and tie them.
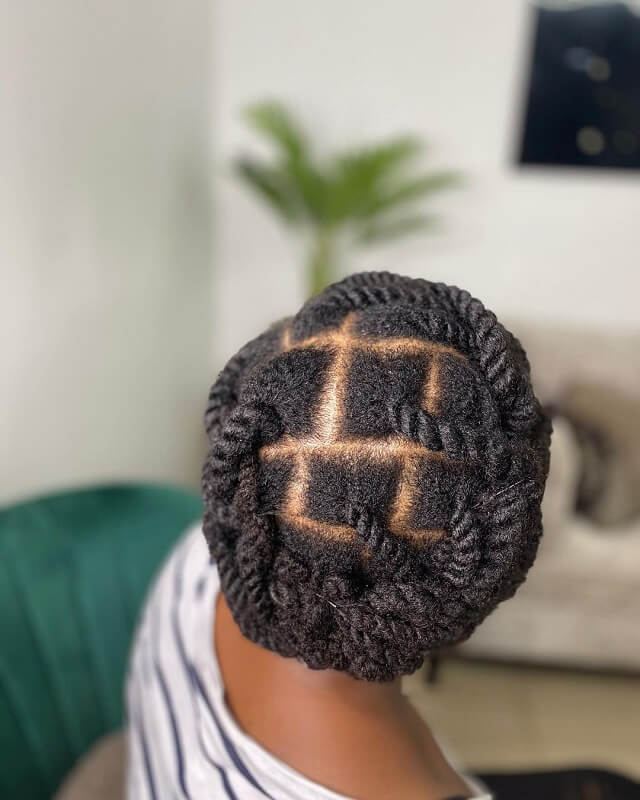
7. Braid With Natural Hair
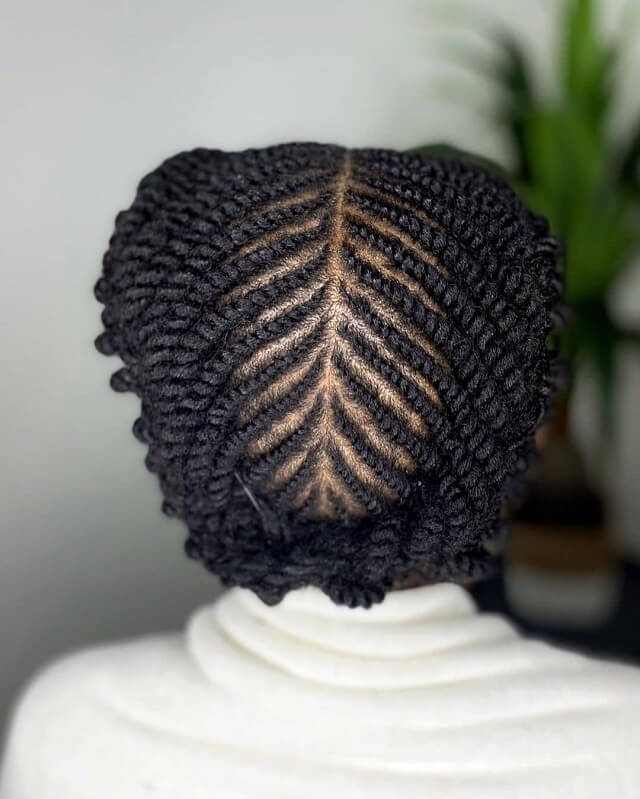
As you are seeing the picture from the top, here you will actually give a unique look to the top. For that, you need micro braids that you can wrap all around and then secure them. While making the braids, there will be a design on the top.
This one looks stunning if you have thick and black hair. So, like a palm tree, the braids on the top will go to both sides. It visually looks like a real palm tree. While doing this fashion, make sure you have enough time on hand to give it the best.
8. French Milkmaid Braid
The French milkmaid braid looks unique and it best goes with blonde or grey toned hair. So, instead of keeping a few hairs on both sides, keep enough hair on one side. Then prepare thick braids and tie them with a band. It looks better with some ornaments.
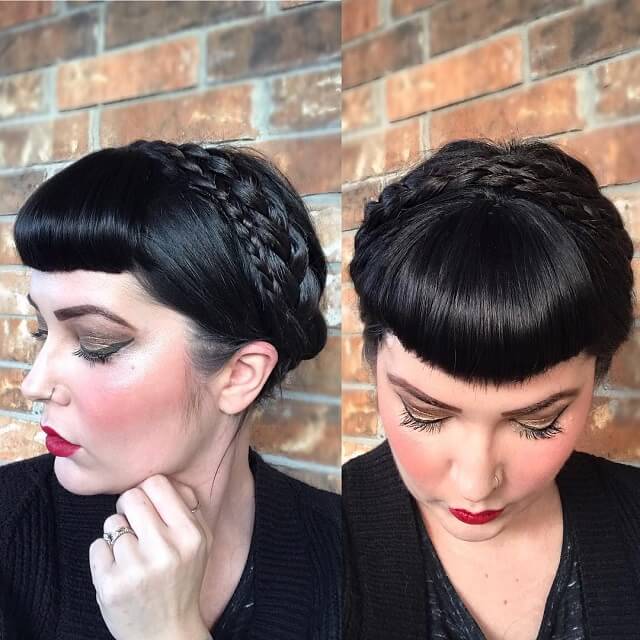
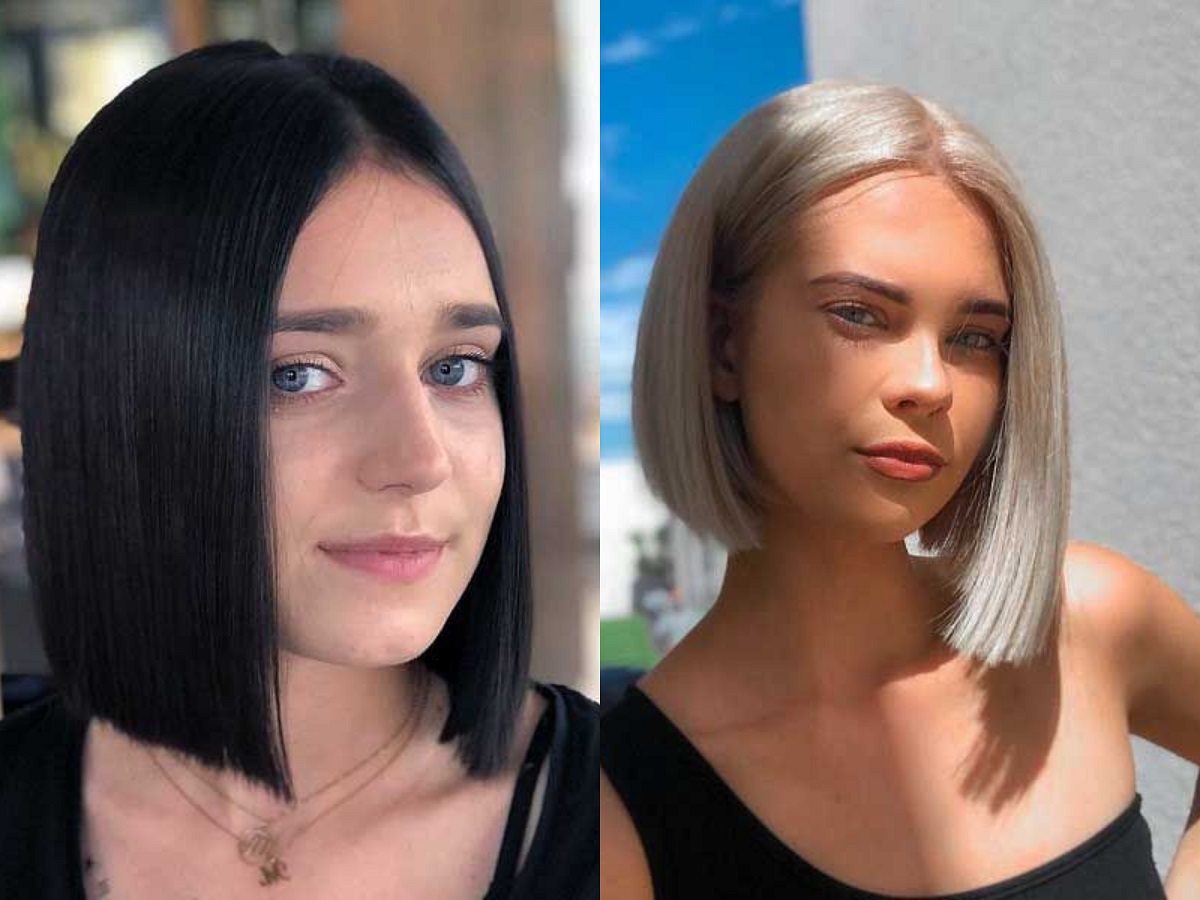
What about combining two different hairstyles at the same time? In this image, you are seeing a kind of that. To have this style, get an angled bob for the frontal hair. Then get your braids and wrap them around the scalp.
9. Stunning Black Hair+Braid
If you are a lucky woman, you might have the natural black shine on your hair. In that case, you can have the milkmaid braid on your black hair and look gorgeous. Go with the regular one by tying the braids or experiment with some exceptions.
Some women need to look unique to cope with the office culture. If you are working in an office where your look matters, get this hairstyle. Keep the front hair short like a bob cut. Then get the braids only with the hair from the backside and then tie them up on the top of the scalp.
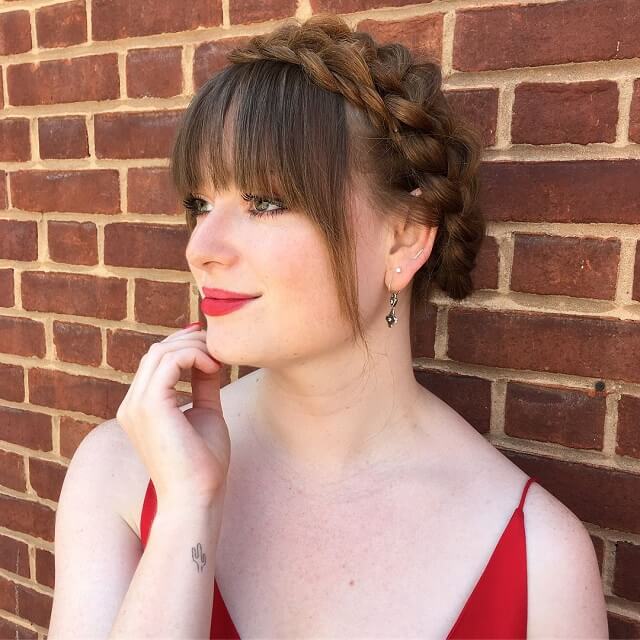
10. Milkmaid Braid Updo
It is a variation of the common milkmaid braid that you see around. For this one, keep chopped bob hair in the frontal line. The front hair length should be up to the eyebrow level. Next, make your braids and wrap them around.
If there is a lack of volume, get this one instead of the previous one. So, you won’t keep any hair open in this style. Make two braids with all of your hair. Now updo them on the scalp. Keep the braids a bit thick to look better.
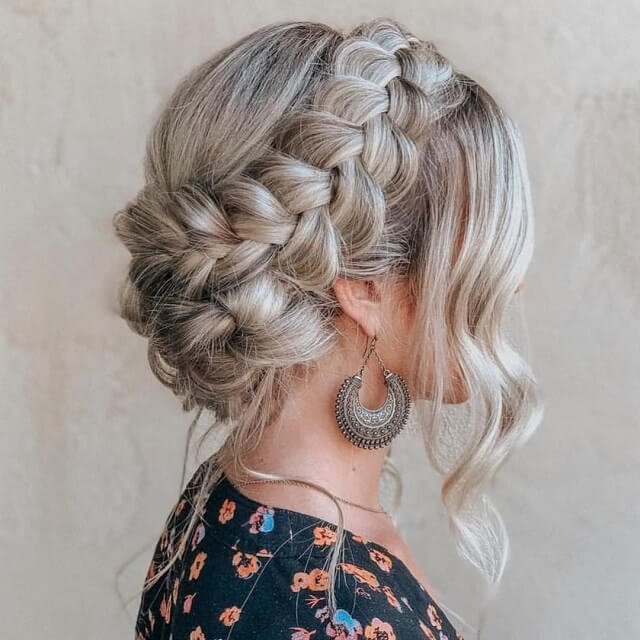
11. Bohemian Milkmaid Braid
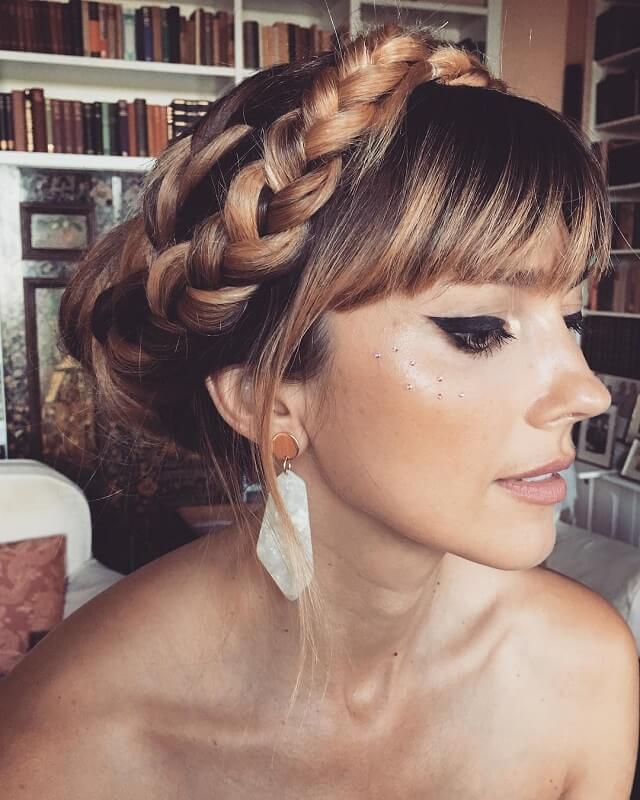
Does it sound like something related to music? Well, it’s actually a different kind of milkmaid braid with long hair. Before separating the hair from the center, keep some hair on the front. The frontal side hair should come to the cheek while the forehead area should be chopped.
For blondies, it is easy to get the bohemian style. No need to keep too much hair on the frontal side. Just keep a few in the face shape and then start the braids. Once the braids are ready, move them around the scalp from the top. Finally, secure the braids with a hairband.
12. Classy Fishtail Braid
As the name sounds, it actually looks like a fishtail. See the picture from the top and you will discover it looks like a fishtail. So, grab your hair from the backside and start the braids. When two braids are ready, the ending used to be thin, right? So, keep the thick part on top and the thin part at the ending. Now see in the mirror and you will find a fishtail.
With blonde hair, if you have enough time, get this style. However, consider the hair volume before getting it. Also, if possible, get the hair done by a professional hairdresser. You can show the picture as a reference to keep it right.
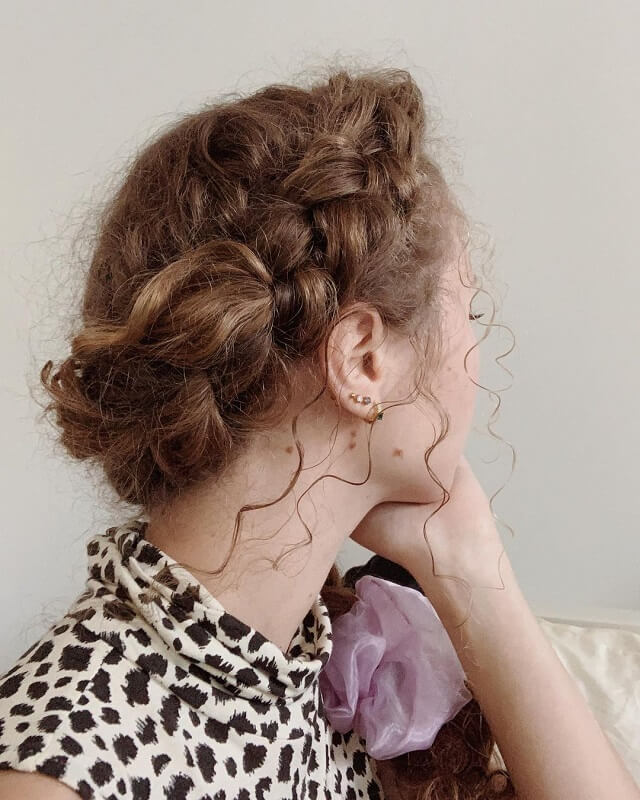
13. Milkmaid Braid For Curly Hair
Do you think curly hair can get a milkmaid braid too? Well, most women with curly hair become depressed because of limitations in their styles. But there is no way to stop you from getting a curly braid. Be brave and rock with this style.
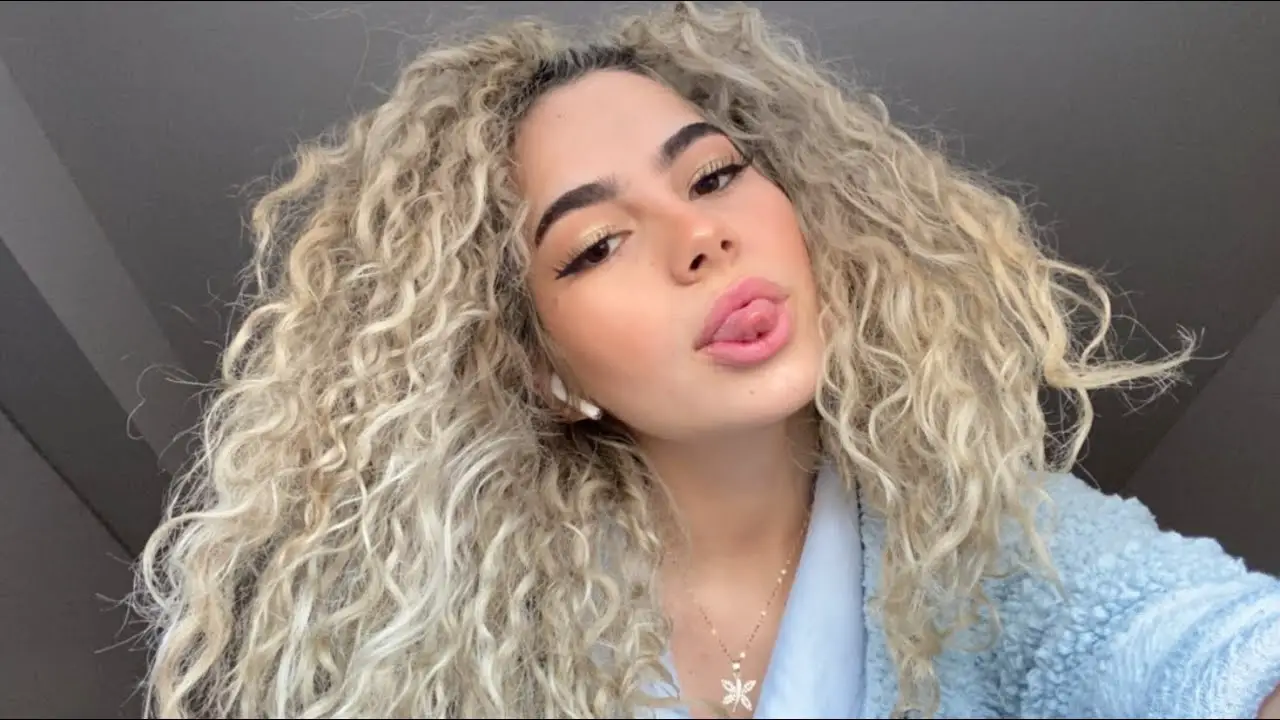
Blonde hair with a curly look is the perfect choice to have this style. Start making the braids from the backside hair. Keep it simple and thick. Then wrap the scalp with the braids and secure them. Keep the rest of the hair open and look amazing.
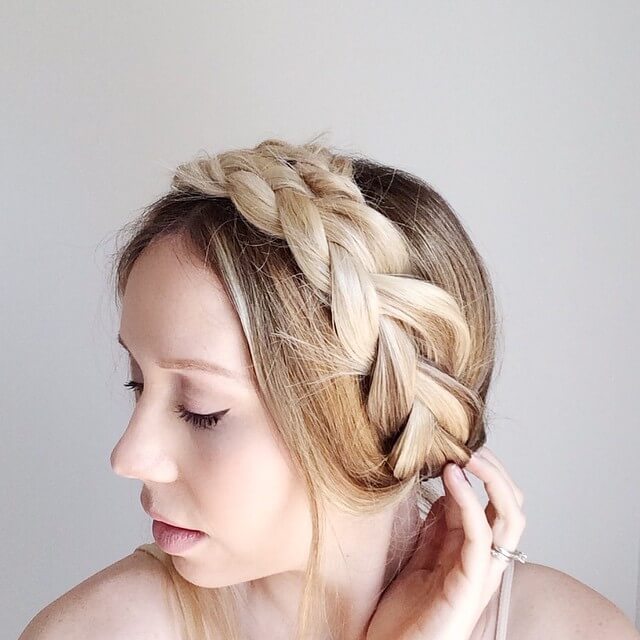
14. Braid With Headband
After hearing the name, you might be thinking of using a headband for it. But the truth is, you don’t need one. Instead, you will give a headband shape to the braids in this variation of milkmaid braid. Wrap the braids on the frontal area where you used to use a headband.
For thin blonde hair, keep it simple. As there will be less volume, grab all your hairs together and then separate quality. Now, make braids that look thick. Keep enough gap between the strands. Finally, tie them up like a headband.
From the above list of milkmaid braids, you can have any. Compared to regular hairstyles, it might take more time. But guess what? You are going to get more attention everywhere with this hairstyle. Just try it once and see the result. We bet you won’t get back to your boring regular hairstyle.

